 "Übel" (ubel)
11/26/2013 at 14:22 • Filed to: None
 1
1
 12
12
 "Übel" (ubel)
11/26/2013 at 14:22 • Filed to: None |  1 1
|  12 12 |

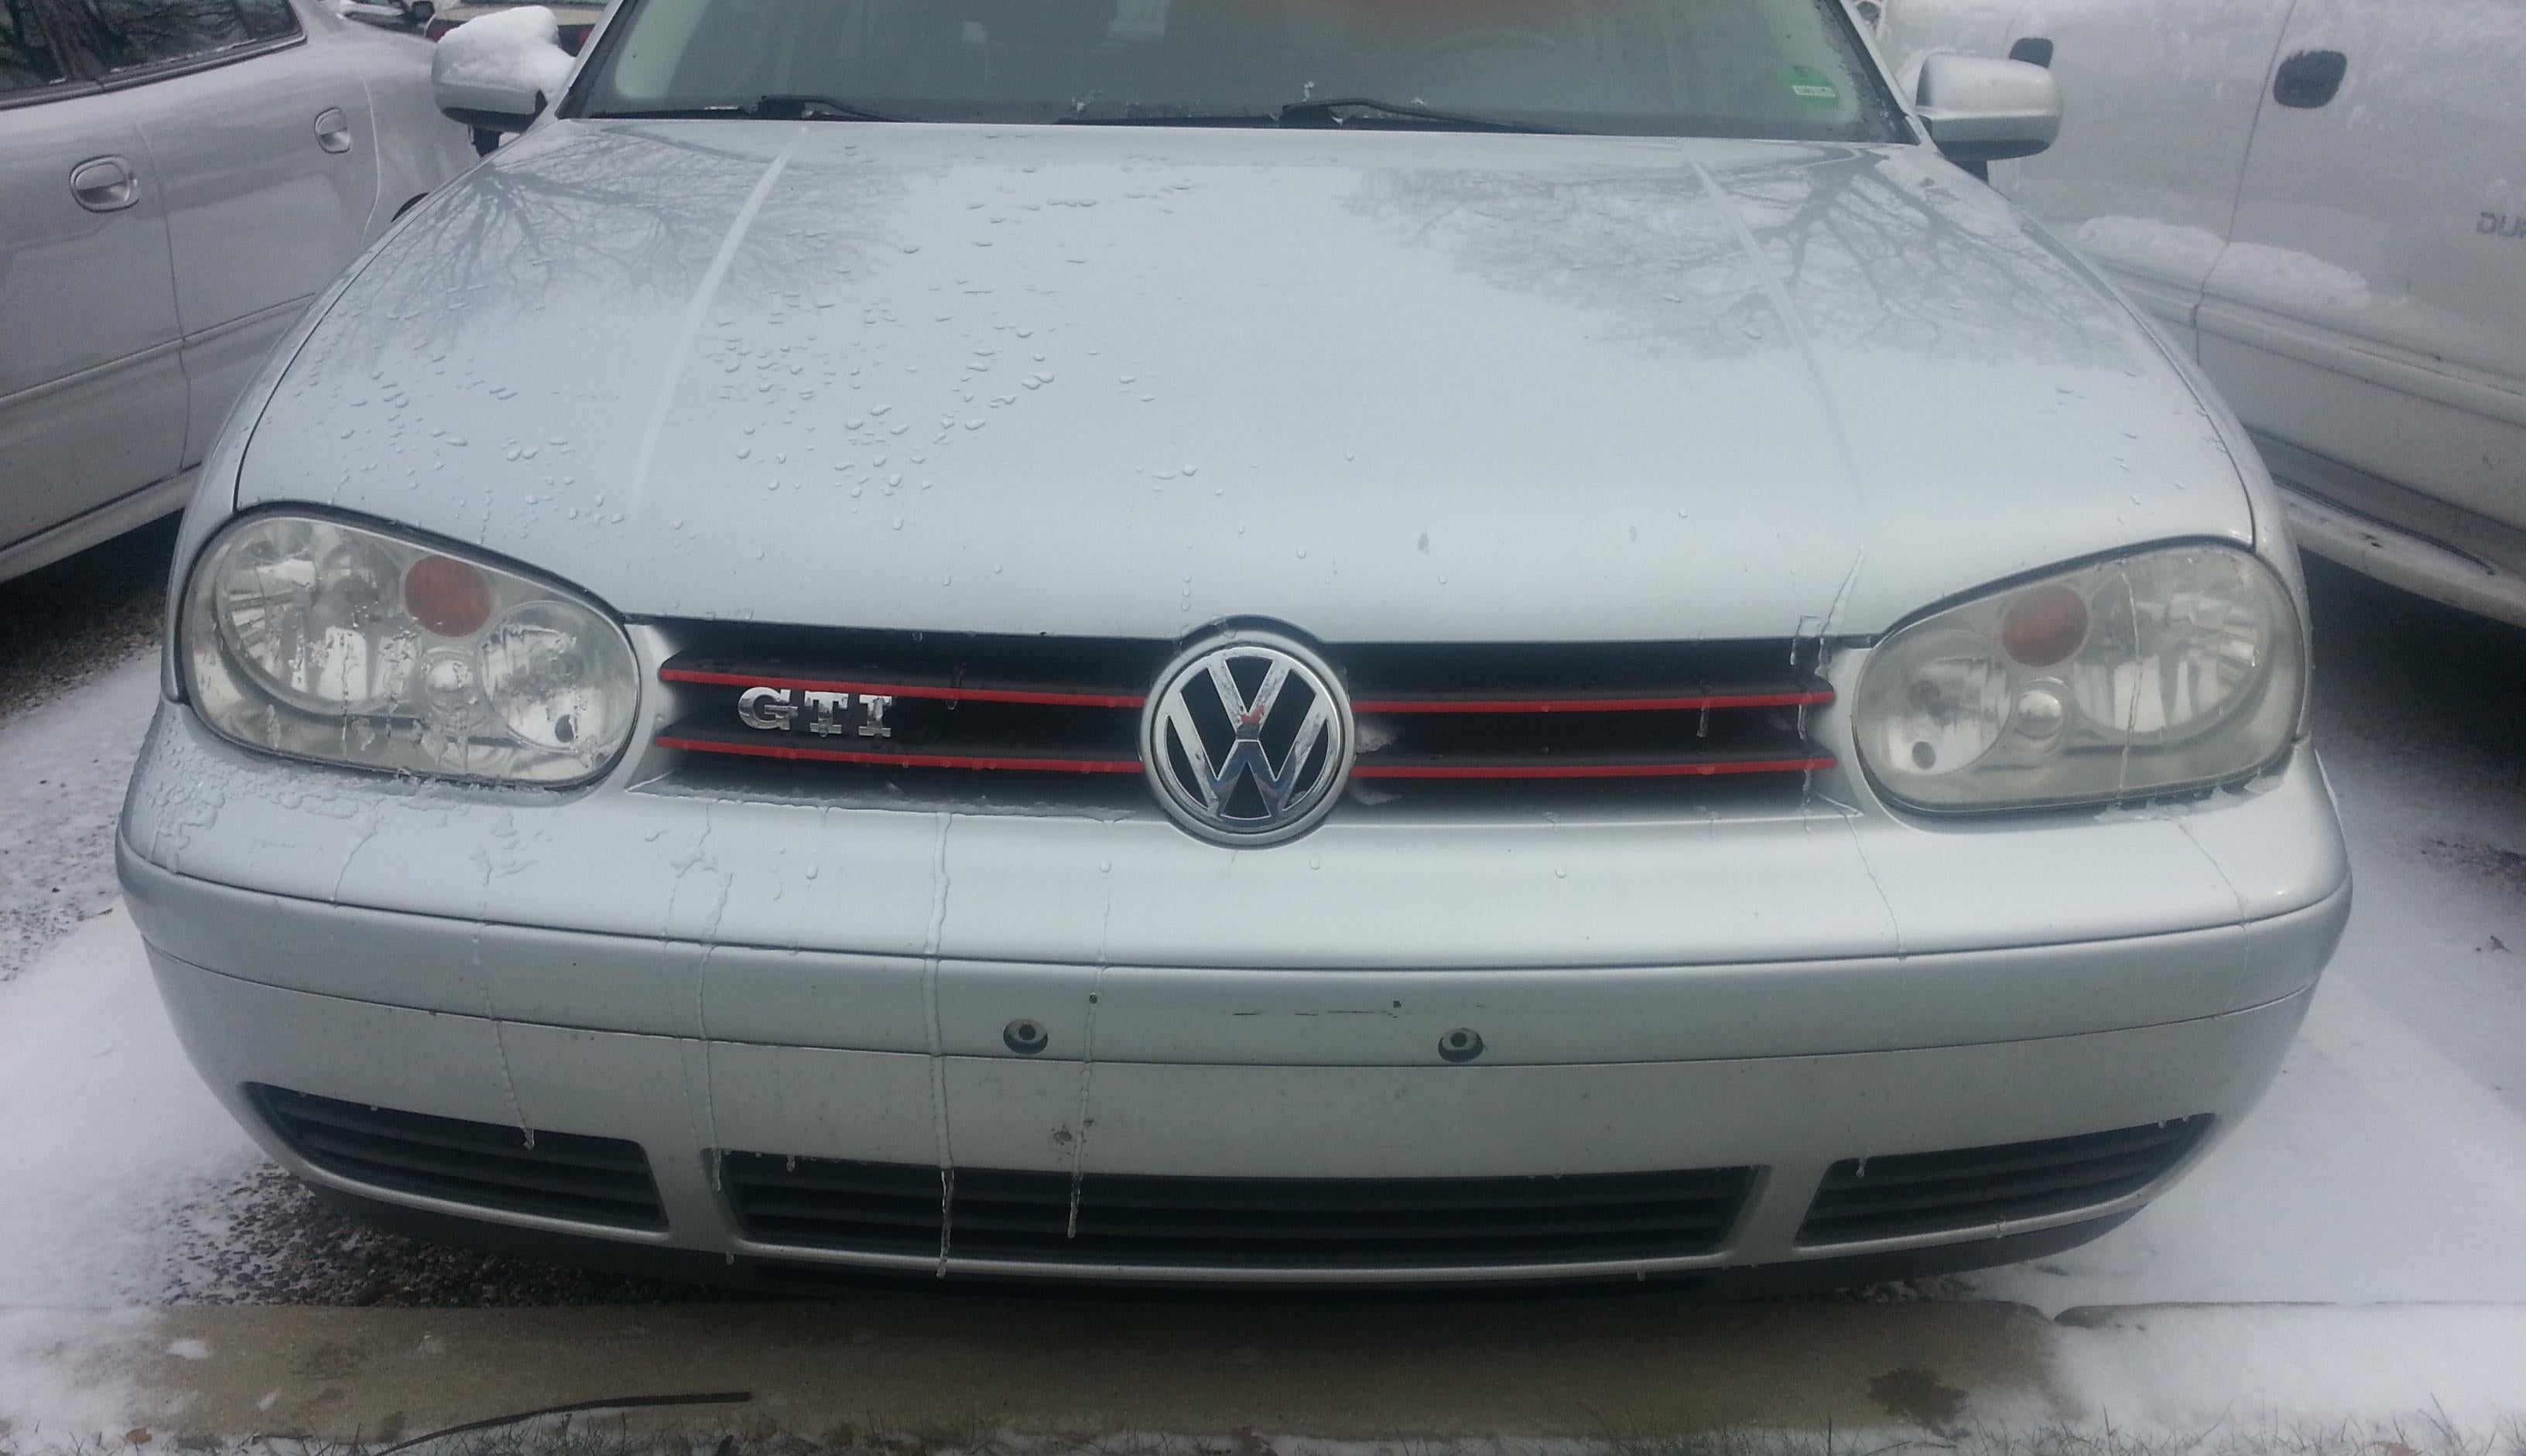
A little less than a month ago, I made !!!error: Indecipherable SUB-paragraph formatting!!! restoring my headlights with Turtle Wax's !!!error: Indecipherable SUB-paragraph formatting!!! , and people asked me to post some updates on how well it held up. Well, so far, no sign of any yellowing returning, nice and see-through!
!!! UNKNOWN CONTENT TYPE !!!
!!! UNKNOWN CONTENT TYPE !!!
EDIT: Let's see if that un-kinjas it.
 zadtheinhaler
> Übel
11/26/2013 at 14:27 |
|
Nice job! - I did the same to my old Voyager, but the medium was toothpaste, and it's *almost* as good. I worked on each side for about 10 minutes, and rinsed it off, almost as good as new.
 505Turbeaux
> Übel
11/26/2013 at 14:29 |
|
sweet, thanks for following up. I see a little haze on the drivers side...but that could be just salt!
 ttyymmnn
> Übel
11/26/2013 at 14:30 |
|
I just redid the lights on my 01 Golf with the 3M kit with excellent results. It was the second time I restored them.
 Übel
> 505Turbeaux
11/26/2013 at 14:35 |
|
Yeah, the driver's side didn't come out *quite* as well. You can't really tell in person, though. I think it's mostly lighting.
 Ghost Dog - For the kittens
> Übel
11/26/2013 at 14:35 |
|
I have this kit sitting at home still unopened and have plans to do it soon. Just to clarify, you used the kit as per instructions? By hand without power tools?
Also, did you need to use the more elaborate method set out on the instructions with more steps, or did the simple method work?
Looks great BTW. Great job!
 Übel
> Ghost Dog - For the kittens
11/26/2013 at 14:43 |
|
I did the full thing, following the instructions word-for word, by hand. My advice is to use as much force as you can while sanding, and make sure to keep things VERY lubricated. I used basically the entire bottle of lube doing it. Also, you're better off sanding more than you think is necessary than not sanding it enough, especially if your lights are really bad.
Finally, when applying the protectant at the end, try to get the smoothest application possible, since it can leave a slight pattern on your lens if you don't.
 Ghost Dog - For the kittens
> Übel
11/26/2013 at 15:00 |
|
Thank you very much Sir.
 Converse
> Übel
11/26/2013 at 15:33 |
|
On a side note, is your grill a kit, or did you do that yourself? I think I like it a lot. Pretty cool.
 Übel
> Converse
11/26/2013 at 16:05 |
|
Thanks! I did it myself. The black is plastidip, the red is 1/4" vinyl pinstriping tape, and the GTI badge is an OEM part they used on the 337 edition that I bought here .
 Converse
> Übel
11/27/2013 at 10:23 |
|
Looks killer. Definitely might copy for my MkIV GTI. It's the dark blue and would look pretty rad with the red treatment. So sick.
Great job!
 If only EssExTee could be so grossly incandescent
> Übel
11/27/2013 at 11:55 |
|
I used the 3M kit with power tolls a bit over a year ago and my headlights are still looking great. They're slightly fuzzy but you have to get up close to them to see it.
 Übel
> Converse
11/27/2013 at 13:42 |
|
Thanks again! I saw one guy who did something similar with a dark blue MkIV, the red definitely pops against the dark color. So yeah, go for it!